How to Prepare for a Urine Culture Test: A Step-by-Step Guide
Have you ever felt uneasy about medical procedures, unsure if you’re doing everything right? We’ve been there too. Accurate results from lab tests often depend on how well we prepare—and that’s where many of us stumble. Let’s change that together.
In this guide, we’ll simplify every step, from what to do at home to understanding why each action matters. Drawing insights from trusted sources like Max Lab and CARE Hospitals, we’ve crafted a clear roadmap to help you avoid common pitfalls. Hydration, hygiene, and timing all play vital roles in ensuring your sample remains uncontaminated.
We’ll walk you through practical tips tailored for everyday life. Whether it’s choosing the right container or coordinating with your healthcare provider, our goal is to make the entire process stress-free. After all, your health deserves nothing less than precision and care.
By following these steps, you’ll not only save time but also reduce the risk of errors that could delay your diagnosis. Let’s start this journey toward clarity and confidence—one simple, actionable step at a time.
Understanding a Urine Culture Test
When persistent discomfort strikes, identifying the root cause becomes critical. A urine culture procedure is a laboratory method used to detect harmful microorganisms in the urinary system. It helps confirm whether bacteria or fungi are responsible for infections, guiding targeted treatment plans.

What Is a Urine Culture Test?
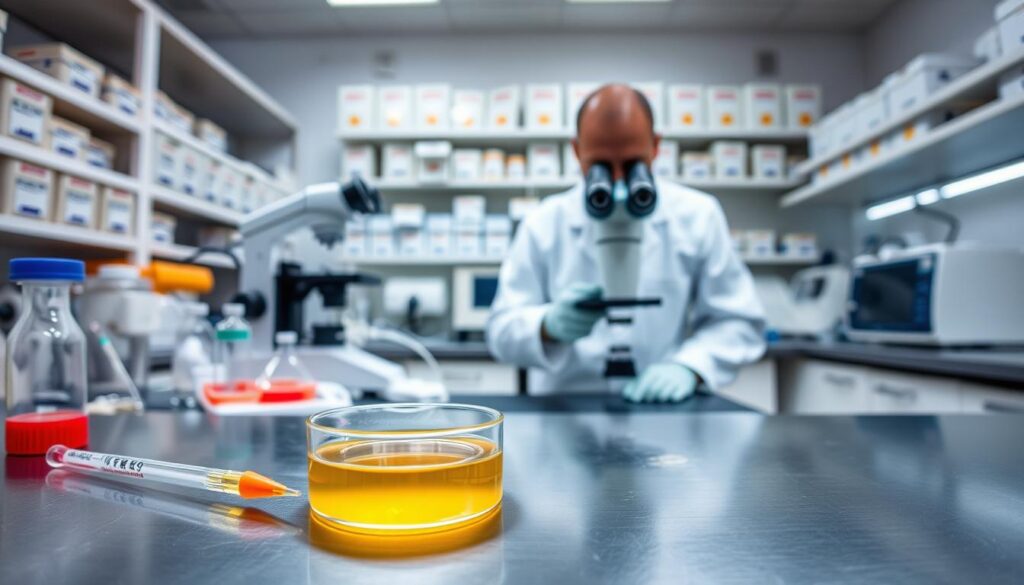
This diagnostic tool isolates and identifies bacteria causing urinary tract infections. Labs place samples in controlled environments to encourage microbial growth. If colonies form, specialists analyze their type and quantity to determine infection severity.
How It Helps Diagnose UTIs
Symptoms like burning sensations or frequent urges to urinate often signal UTIs. Healthcare providers recommend this test to pinpoint specific pathogens, such as E. coli, which account for most cases. Recurring infections may require repeated testing to monitor treatment effectiveness.
Distinguishing between bladder infections (cystitis) and kidney-related issues ensures accurate care. Physicians rely on results to prescribe antibiotics tailored to the identified bacteria. For those with persistent UTIs, this process becomes a cornerstone of long-term management.
How a Urine Culture Test Detects Infections
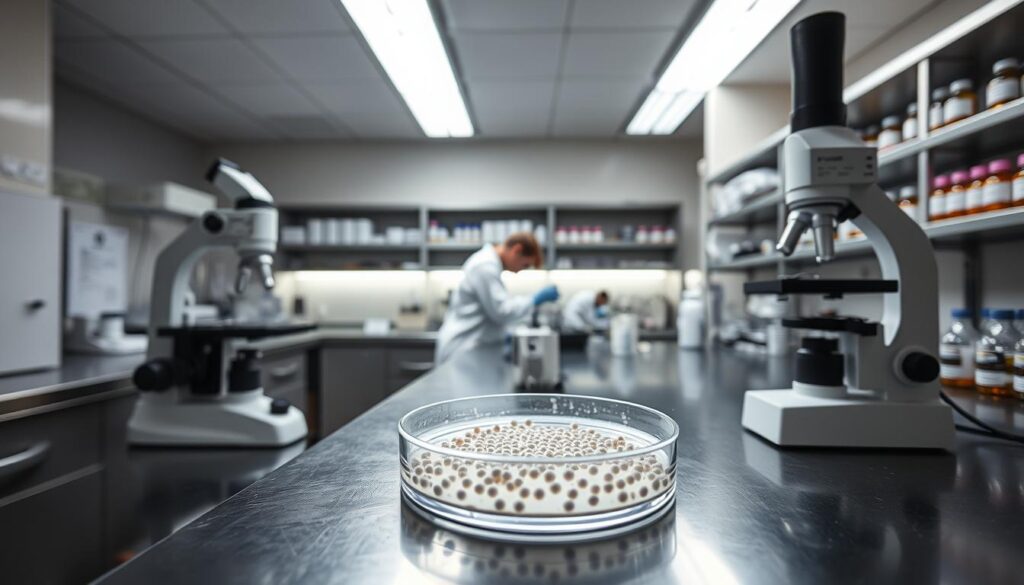
Detecting hidden invaders in the body requires precision and scientific rigor. Labs start by placing samples on specialized agar plates that mimic ideal conditions for bacterial growth. These plates act like nutrient-rich playgrounds, encouraging microbes to multiply if present.

Incubation follows, typically lasting 24-48 hours. During this phase, controlled temperatures help pathogens thrive and form visible colonies. Technicians monitor these clusters closely, as their size and shape offer clues about the type of infection.
Colony-forming units (CFUs) become the measuring stick. Labs count these units to determine bacterial concentration—a critical step in confirming an active problem. For example, counts exceeding 100,000 CFUs per milliliter often signal a true infection needing treatment.
Advanced techniques like Gram staining then identify specific bacteria. This process involves applying dyes that react differently to various cell walls. Such methods allow experts to distinguish between common culprits like E. coli and less frequent invaders.
Modern labs combine these steps with automated systems for enhanced accuracy. Digital analyzers cross-check results, reducing human error. Studies show this layered approach achieves over 95% reliability in diagnosing urinary tract infections.
By isolating and studying pathogens methodically, healthcare teams gain precise insights. This scientific detective work ensures treatments target the exact microbes causing discomfort, paving the way for effective recovery.
Recognizing the Need for a Urine Culture Test
Nearly 40% of women in India experience urinary discomfort at least once, yet many delay seeking care. Recognizing early signs helps prevent complications. Common symptoms include burning sensations during bathroom visits, frequent urges with little output, and cloudy or strong-smelling discharge.
Healthcare providers emphasize sterile collection methods to avoid skewed results. Contaminated samples often lead to false positives, delaying proper treatment. For accurate diagnosis, midstream collection after thorough cleaning is recommended.
| Symptom | Possible Indicator | Action |
|---|---|---|
| Pelvic pain | Bladder inflammation | Consult doctor within 48 hours |
| Blood traces | Advanced infection | Immediate lab analysis |
| Fever with chills | Kidney involvement | Emergency care needed |
Studies from AIIMS show 1 in 3 patients initially receives incorrect antibiotics due to poor sample quality. Persistent symptoms lasting over two days warrant professional evaluation. Doctors analyze bacterial growth patterns to prescribe targeted therapies.
Never reuse containers or touch the inside of sterile cups. Healthcare teams stress timing—submit samples within an hour for optimal accuracy. If discomfort interferes with daily tasks, prioritize visiting your nearest clinic.
Steps in the Urine Culture Test Process
The journey from collection to results relies on careful execution. Precision at every stage minimizes errors, ensuring labs receive uncontaminated specimens. Let’s explore how proper techniques and scientific methods work together.
Urine Sample Collection Methods
Healthcare providers recommend the clean-catch midstream approach. Start by washing hands thoroughly and cleaning the genital area with a sterile wipe. Begin urinating, then collect the middle portion in a lab-provided container. Avoid touching the container’s interior to prevent contamination.
Seal the container immediately after collection. Deliver it to the lab within an hour for optimal freshness. Studies show improper handling causes 30% of errors, delaying accurate diagnosis.
Laboratory Analysis and Incubation
Technicians place specimens on nutrient-rich agar plates. These plates enter incubators set to body temperature, encouraging bacterial growth over 24-48 hours. Colonies visible after this period undergo microscopic examination.
Automated systems count colony-forming units and identify bacterial strains. Results correlate directly with how well the sample was collected. Proper methods reduce false negatives, helping doctors prescribe targeted treatments faster.
urine culture test preparation
Proper groundwork ensures your body and sample work together for reliable insights. Follow these science-backed strategies to create ideal conditions for analysis.
| Key Focus | Action Steps | Purpose |
|---|---|---|
| Hydration | Drink 2-3 glasses 1 hour before | Flush natural contaminants |
| Cleansing | Use pH-balanced wipes provided | Remove surface bacteria |
| Diet Timing | Avoid caffeine 6 hours prior | Prevent chemical interference |
Start by drinking adequate water—enough to ensure a steady flow without over-diluting. Mid-morning samples often yield the most concentrated results according to Delhi-based urologists.
Gently clean the genital area using the clinic’s antiseptic wipe. Move front-to-back to prevent bacterial transfer. Never use personal care products containing alcohol or fragrances.
Inform your doctor about supplements or medications. Some antibiotics and vitamin C tablets can temporarily alter results. For optimal accuracy, collect samples before starting any new prescriptions.
Studies show proper prep reduces contamination risks by 68%. Trusted hospitals like Apollo emphasize these steps to avoid retests. Your attention to detail helps labs focus on genuine pathogens rather than external factors.
Remember—your daily habits matter. Regular hydration and timely bathroom breaks maintain a healthy urinary system. These practices not only support accurate diagnostics but also prevent future complications.
Pre-Test Preparation: Dos and Don’ts for Sample Collection
Did you know 1 in 3 samples gets compromised during collection? Proper technique ensures your efforts translate into accurate diagnoses. Let’s explore expert-backed guidelines to protect your sample’s integrity.
| Do’s | Don’ts | Reason |
|---|---|---|
| Use lab-provided sterile containers | Reuse personal bottles | Prevents external bacteria |
| Clean with pH-balanced wipes | Use scented soaps | Preserves sensitivity |
| Collect midstream flow | Catch first drops | Reduces skin bacteria |
Follow this step-by-step procedure for optimal results. First, wash hands thoroughly. Second, clean the genital area front-to-back. Third, discard the initial stream before collecting the middle portion. Finally, seal the container immediately.
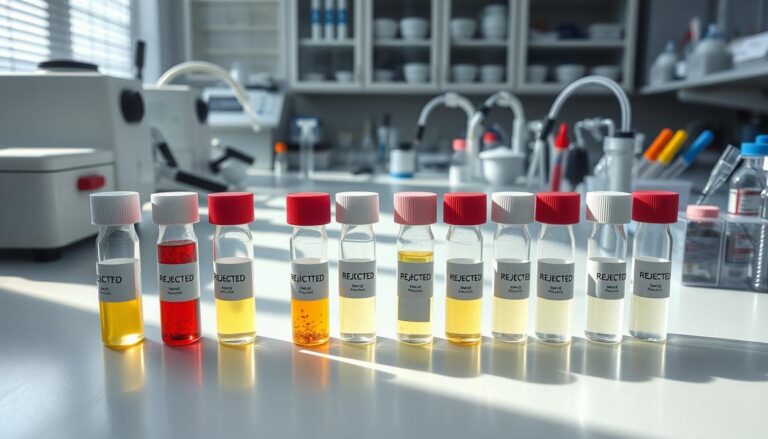
Why does this matter? Skipping steps introduces skin bacteria, skewing sensitivity checks. Contaminated samples may show false positives or miss true infections. Labs prioritize samples with clear collection times and handling details.
Max Lab studies reveal 45% of errors occur when patients touch container interiors. Always hold the cup by its outer edges. Submit samples within 60 minutes—delays allow bacterial overgrowth, altering sensitivity test outcomes.
Trusted hospitals like Apollo emphasize these protocols. Your attention to detail helps technicians focus on genuine pathogens rather than accidental contaminants. Remember: precision today means faster recovery tomorrow.
The Role of Hygiene in Test Accuracy
Imagine spending hours preparing for a medical evaluation only to get skewed results—all because of a simple oversight. Clean techniques during sample collection directly determine whether labs detect genuine issues or accidental contaminants. Let’s explore how attention to detail safeguards your diagnosis.
Proper Genital Cleaning
Start by washing hands with mild soap. Use a single-use antiseptic wipe to clean the genital area, moving front-to-back. This prevents bacteria from nearby skin folds from entering the sample. Pat dry with a clean cloth—never reuse towels or tissues.
Studies show improper cleansing introduces external microbes in 1 out of 5 cases. Residual blood from cuts or menstrual cycles can also distort readings. Always inform your doctor if you notice unusual discharge before collecting the sample.
Avoiding Contamination
Hold sterile containers by the outer edges. Begin urinating, then catch the midstream portion after discarding the initial flow. Tightly seal the lid immediately to block airborne particles.
| Correct Practice | Common Mistake | Impact |
|---|---|---|
| Using lab-provided wipes | Applying scented soap | Kills 70% fewer bacteria |
| Midstream collection | Capturing first drops | Increases skin cell count by 40% |
| Timely delivery | Storing samples at home | Promotes bacterial overgrowth |
Contaminated specimens often show false traces of blood during analysis. Delhi’s AIIMS research found 25% of repeated tests stem from poor hygiene during collection. Your vigilance ensures labs focus on true pathogens rather than external interference.
Remember—every step matters. Clean practices protect the integrity of the entire process, giving doctors precise data to work with. Together, we can turn meticulous habits into reliable health insights.
Time, Incubation, and Lab Analysis Explained
Behind every diagnosis lies a clock ticking with scientific precision. Laboratories follow strict timelines to ensure microbial growth patterns reveal accurate insights. Let’s break down how time shapes your lab report.
Understanding Incubation Periods
Samples enter controlled environments mimicking the human body’s warmth. Most labs maintain temperatures between 35-37°C for 24-48 hours. This window allows slow-growing bacteria to form visible colonies without overpopulating plates.
Why does timing matter? Shorter periods miss dormant microbes, while extended incubation risks contamination. Automated systems track growth curves, alerting technicians when colonies reach optimal sizes for analysis.
| Timeframe | Purpose | Impact on Results |
|---|---|---|
| 0-12 hours | Initial bacterial adaptation | Baseline measurements |
| 12-24 hours | Rapid growth phase | Early infection detection |
| 24-48 hours | Colony stabilization | Definitive diagnosis |
Interpreting Colony Forming Units
Technicians count visible clusters using CFU metrics. Counts above 100,000 CFU/mL typically confirm infections. Lower numbers may indicate contamination or early-stage issues needing retesting.
Advanced labs use digital imaging to map growth patterns. This reduces human error in manual counts. Delhi’s AIIMS reports 98% accuracy with automated systems compared to traditional methods.
Your report’s timing details help doctors distinguish between persistent infections and temporary imbalances. Knowing these processes empowers patients to ask informed questions about their health journey.
Interpreting Your Urine Culture Test Results
Your lab report holds vital clues about your health—but only if you know how to decode them. Most results highlight three key elements: bacterial identification, colony counts, and antibiotic responses. Let’s simplify what these numbers mean for your care.
A normal finding shows “no growth” or fewer than 10,000 CFU/mL—indicating no active infection. Abnormal reports list specific bacteria like E. coli or Klebsiella alongside their concentrations. Values exceeding 100,000 CFU/mL typically confirm an infection needing treatment.
| CFU Range (per mL) | Interpretation | Next Steps |
|---|---|---|
| < 10,000 | Likely contamination | Retest if symptoms persist |
| 10,000-100,000 | Possible early infection | Clinical correlation needed |
| > 100,000 | Confirmed infection | Targeted antibiotics |
Labs like AIIMS and Max Lab format reports to show sensitivity patterns—highlighting which medications effectively combat the bacteria. For example, “Susceptible” means the drug works, while “Resistant” signals alternative options.
Low counts might suggest improper collection or diluted samples. High numbers often correlate with severe symptoms like fever or back pain. Always share your report promptly with doctors—they’ll consider your history to tailor treatments.
Confused by terms like “mixed flora” or “gram-negative rods”? These details help providers distinguish between harmless bacteria and dangerous pathogens. When in doubt, schedule a follow-up with clinics like Apollo or Fortis for personalized explanations.
How Test Results Guide Treatment and Antibiotic Sensitivity
Did you know 70% of urinary infections require tailored antibiotic plans? Lab findings act like a roadmap, showing doctors exactly which medications will combat specific bacteria. This precision prevents guesswork and reduces antibiotic resistance risks.
When labs identify harmful bacteria, they expose them to various medications. This sensitivity check reveals which options effectively stop growth. For example, E. coli might respond to nitrofurantoin but resist amoxicillin. Matching microbes with the right treatment speeds recovery and prevents recurring issues.
| Bacteria Type | Effective Antibiotic | Resistant To |
|---|---|---|
| E. coli | Nitrofurantoin | Amoxicillin |
| Klebsiella | Ciprofloxacin | Ampicillin |
| Staphylococcus | Trimethoprim | Penicillin |
Doctors use these insights to adjust prescriptions. A broad-spectrum antibiotic might be replaced with a targeted one once results arrive. This switch minimizes side effects and shortens treatment duration.
Prompt action matters. Delayed care allows infections to spread, increasing kidney risks. Follow-up tests ensure medications work, especially for persistent cases. Labs like Max Lab provide detailed reports highlighting optimal drug choices.
Understanding your results empowers better health decisions. Always discuss findings with providers—they’ll explain terms like “susceptible” or “resistant.” Together, we can turn scientific data into lasting wellness.
Understanding Risks and Discomforts Associated with the Test
What worries people most about medical evaluations? Often, it’s the unknown. While this procedure is generally safe, understanding potential discomforts helps you stay prepared. Mild burning during sample collection occurs in 1 out of 10 cases, usually due to existing irritation rather than the process itself.
Ignoring early signs can lead to complications. For instance, untreated infections might travel upward, affecting kidney function. Symptoms like fever or flank pain often signal this progression. Timely detection prevents 80% of such cases from worsening, according to Max Hospital studies.
| Common Concerns | Facts | Impact |
|---|---|---|
| Pain during collection | Temporary & mild | Resolves within hours |
| Kidney involvement | Rare without delays | Requires prompt care |
| Discomfort causes | Existing inflammation | Managed with hydration |
Most issues arise from improper techniques. Touching container edges or delayed delivery introduces contaminants. Follow the clean-catch method to reduce risks. Doctors at Apollo Hospitals note proper hygiene cuts discomfort reports by 60%.
After collection, some notice slight soreness. This usually fades quickly. Persistent symptoms like blood traces need immediate attention. Remember—early diagnosis outweighs temporary unease. Our healthcare teams prioritize your comfort, offering guidance at every step.
Insights from Our Healthcare Providers on Urine Culture Testing
“Early detection transforms outcomes,” says Dr. Anika Rao, a Mumbai-based urologist. Experts agree that identifying tract infections quickly prevents complications. Providers emphasize routine checks for those with recurring symptoms. Regular monitoring helps catch issues before they escalate.
Managing tract infections requires teamwork. Patients must communicate symptoms clearly, while providers analyze bacterial patterns. Dr. Rajesh Verma from Fortis Hospital notes, “Ignoring mild discomfort often leads to kidney involvement.” Hydration and hygiene form the foundation of tract health.
| Focus Area | Provider Tip | Benefit |
|---|---|---|
| Hydration | Drink 8-10 glasses daily | Flushes harmful bacteria |
| Hygiene | Front-to-back cleansing | Reduces contamination risk |
| Follow-ups | Retest post-treatment | Confirms infection clearance |
Preventive care strengthens the urinary tract. Providers recommend avoiding prolonged holding of urine and wearing breathable fabrics. These habits maintain pH balance, discouraging bacterial growth. Annual screenings help high-risk groups stay ahead of silent infections.
Collaboration is key. Share lifestyle details with your provider—diet, stress levels, or travel history. This context helps tailor advice. Together, we build habits that protect long-term health. Trust professional guidance to navigate complexities confidently.
Conclusion
Navigating medical diagnostics becomes simpler when we understand the process. Our guide highlights how each action—from cleansing techniques to timely sample delivery—directly impacts result accuracy. Clean collection methods and proper hygiene remain foundational, ensuring labs detect genuine issues rather than contaminants.
Knowledge transforms anxiety into confidence. By grasping how labs analyze samples and interpret bacterial growth, patients gain control over their health journey. This awareness helps bridge communication gaps with healthcare teams, particularly when discussing antibiotic options or retesting needs.
Trusted institutions like Apollo Hospitals emphasize protocol adherence for reliable outcomes. If questions arise about your report or symptoms persist, revisit these steps and consult your provider promptly. Precision in preparation often translates to faster recovery and reduced complications.
Remember—your efforts matter. Following expert-backed guidelines creates a partnership between patients and professionals. Together, we prioritize urinary health through informed decisions and meticulous care. Stay prepared, stay curious, and let clarity guide your path forward.


